

How To Create A Button In Excel 2013
Excel Insert Button (Table of Contents)
- Introduction to Excel Insert Button
- How to Insert a Button in Excel?
Introduction to Excel Insert Button
VBA macros are the most advanced level of excel, and we all know about that as well. In this article, we will write a simple macro and how to assign that macro a button to run at any point in time.
How to Insert a Button in Excel?
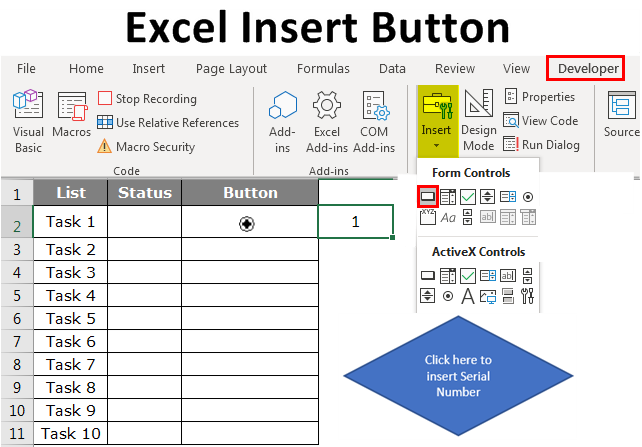
In Excel, we can insert buttons according to our needs. We can use a form control button or command button to perform a certain action when we click on it. Both are known as push button that can be set to automate worksheet printing, data filtering or numbers calculation.
Lets us see some of the examples of how to insert a button in excel.
You can download this Excel Insert Button here – Excel Insert Button
Example #1 – Insert Serial Numbers Using Record Macro
Before you go ahead and learn about macro coding, let me teach you the macro record option in excel. Record macro simply records all the activities you do on the excel worksheet.
Step 1: Go to the Developer Tab and click on Record Macro.
Step 2: Now, it will ask you to name your Macro. Give a name to your recording macro.
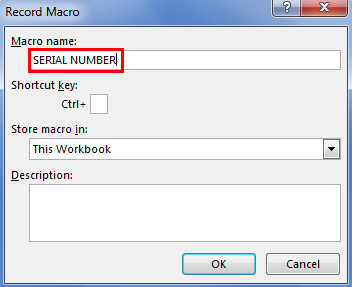
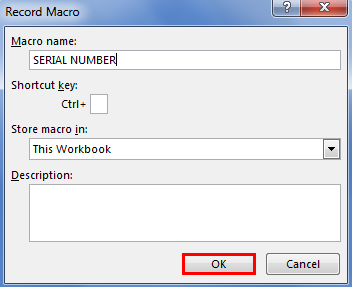
Step 3: Click on OK to start recording.
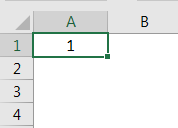
Step 4: Select cell A1 and type serial number 1.
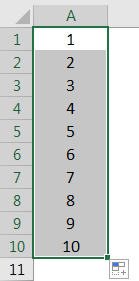
Step 5: Type 2 in cell A2 and drag till the 10th row.
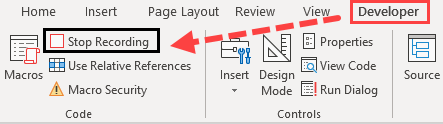
Step 6: Now stop recording under the Developer tab.
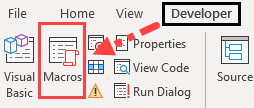
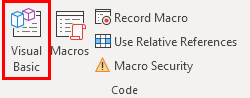
Step 7: Now click on Visual Basic to see what excel has recorded.
Step 8: Below is the record of the macro.
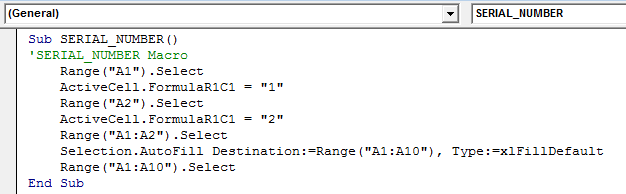
Firstly we have selected cell A1, i.e. Range ("A1").select. Now cell A1 becomes an active cell. In the active cell, we have typed the number "1"; then we have selected cell A2, i.e. Range ("B2").select
Like this, it has recorded all those things we have done in the worksheet.
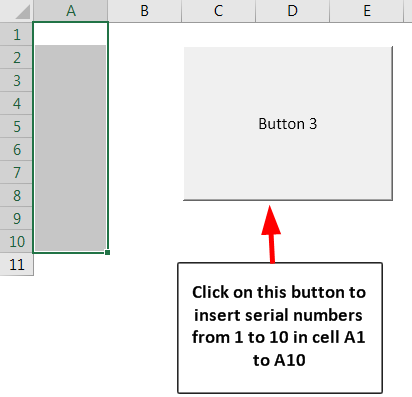
Step 9: Now, we can insert serial numbers from 1 to 10 from A1 to A10 at any point in time.
Example #2 – Assign Macro to a Button
We have created a macro and named it has SerialNumber. We cannot go back to macro and run at all the time. Rather we can assign a button to this macro so that we can access the macro by just click of the mouse.
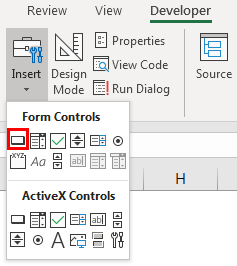
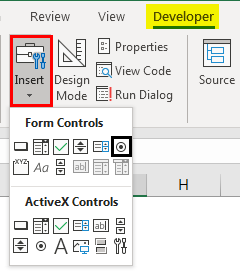
Step 1: Go to the Developer tab and click on the Insert button.

Step 2: Select the first option called Button under Form Controls and draw on the worksheet.
Step 3: As soon as you draw, it will ask you to assign a Macro to this button.
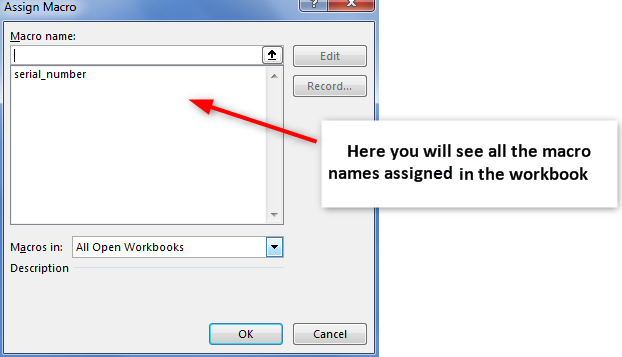
Step 4: Select the macro name to assign to this button.
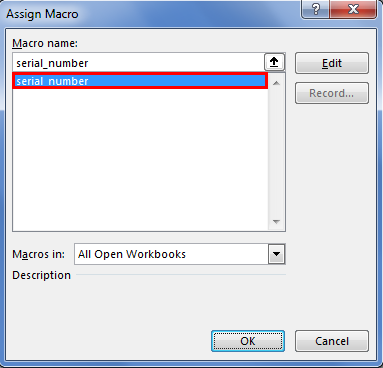
Step 5: Click on OK to complete. Now the macro is assigned to the button. You can click on this button to run a macro and insert serial numbers.
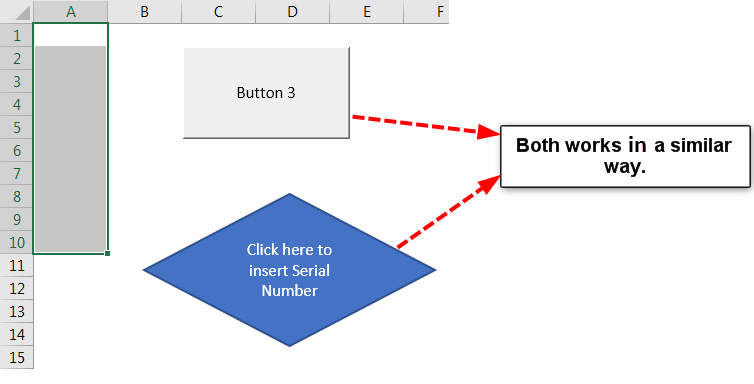
Example #3 – Assign Macro to a Shape
We have seen how to assign macro to a button under the Developer tab. You know what? It is not mandatory to use the insert button to assign macro; instead, we can use our own shape to assign macro. Follow the below steps to assign a macro to your own shape.
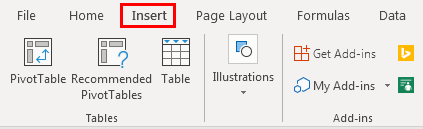
Step 1: Go to Insert.
Step 2: Under the Illustrations, we have to go to Shapes.
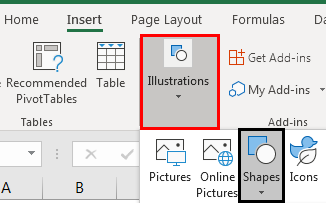
Step 3: Click on the drop-down and select the shape you wish to have after selecting; draw this in your worksheet.
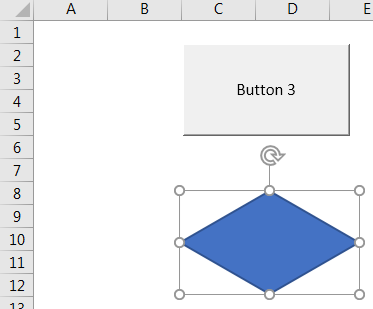
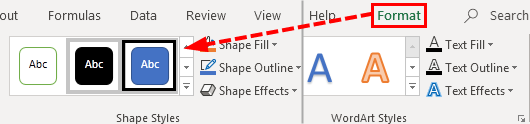
Step 4: Now, you can change the color and view of the shape as per your wish under the Format tab.
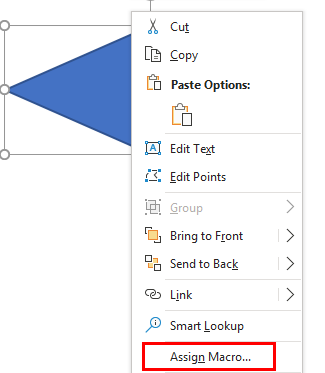
Step 5: Right-click on the shape and select Assign Macro.
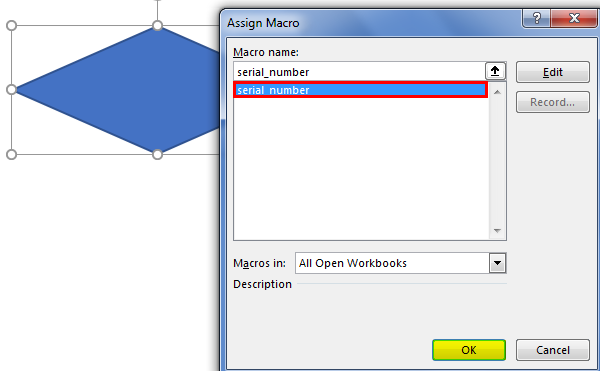
Step 6: Now, we will see the assign macro window as we have seen in the button macro process. Select the macro you wish to assign and click on OK.
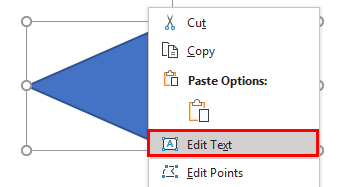
Step 7: Now again, right-click on the shape and select Edit Text.
Step 8: Now, give a proper name to the shape, which is understandable to the users.

Now we can use this button to insert serial numbers.
Example #4 – Other Options under Insert button in Excel
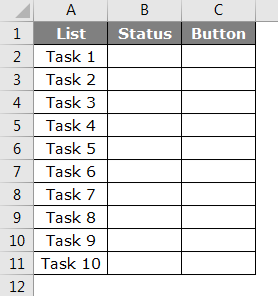
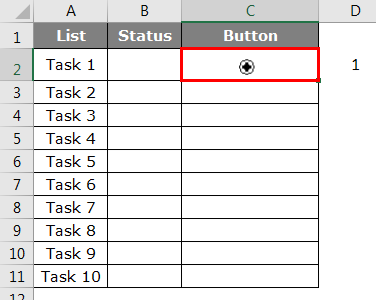
Now we will see other options available under the INSERT button. We can create a checklist by using the Option Button. Consider this below task list, for example.
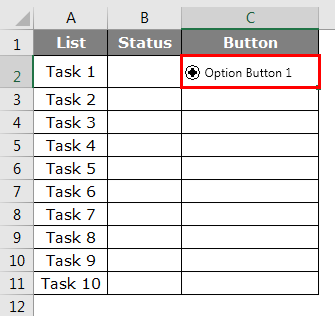
Step 1: Go to the Developer tab > Insert > Option Button.
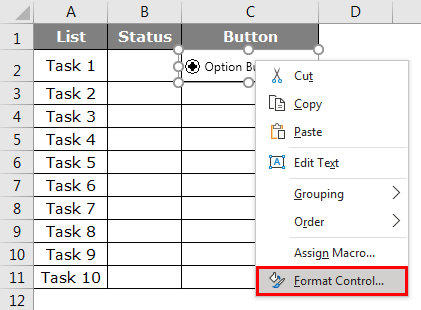
Step 2: Draw the options button in cell C2.
Step 3: Right-click on the options button and select Format Control.
Step 4: Under Format Control Window, go to the Control tab.
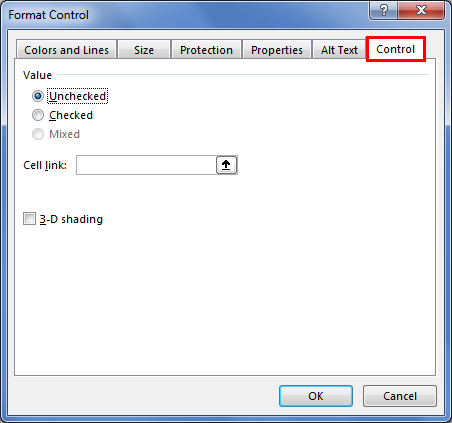
Step 5: Under Cell Link, gives a link to cell D2.
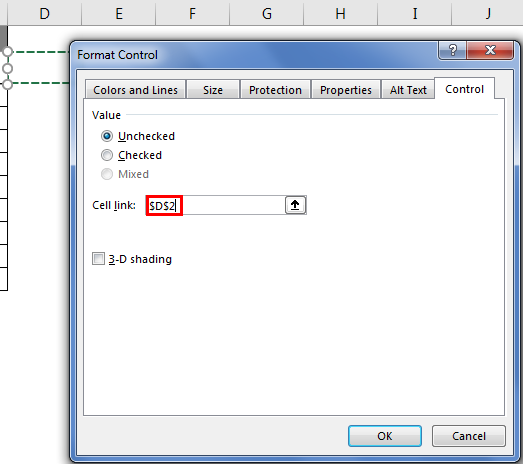
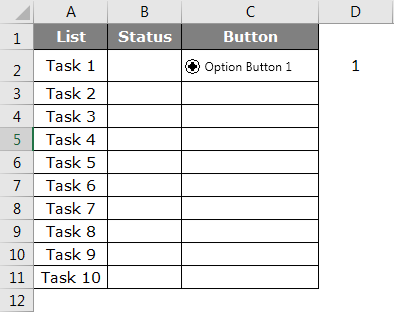
Step 6: Click on OK. Now click on Option Button, we can see number 1 in cell D2.
Step 7: Right-click and delete the text and retain only the plain option button and adjust to the middle of the cell.
Step 8: Repeat the same task for all the cells. Change the cell accordingly. Whenever the button is clicked in the respective row, cells in the D column value will be changed from zero 1.
Things to Remember
- It is not mandatory to assign a macro to the insert button rather;, we can use shapes as well.
- We can create any kind of shape to assign a macro button.
- We can also create shortcut keys to run a macro instead of a button.
- How to use a checklist refer to our previous articles.
- If you want to enable develop tab, see our previous articles on how to enable the Developer tab.
Recommended Articles
This is a guide to Excel Insert Button. Here we discuss How to Insert a Button in Excel along with examples and a downloadable excel template. You may also look at the following articles to learn more –
- Insert Comment in Excel
- Excel Insert Page Break
- Excel Insert Multiple Rows
- Insert New Worksheet In Excel
How To Create A Button In Excel 2013
Source: https://www.educba.com/excel-insert-button/
Posted by: burrowsbegather45.blogspot.com
0 Response to "How To Create A Button In Excel 2013"
Post a Comment